

Plot Styles in Indie Language
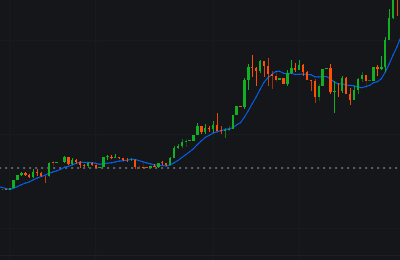
Currently, Indie supports the following plot styles:- Line – simple lines
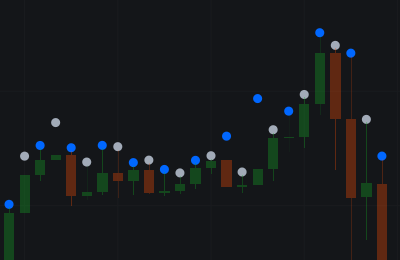
- Markers – For example, dots, and crosses.
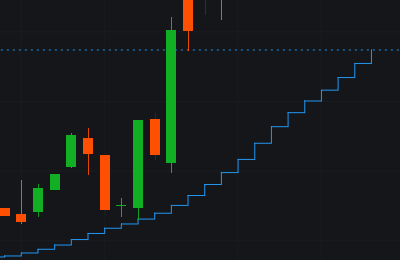
- Steps – a line connecting points with horizontal steps
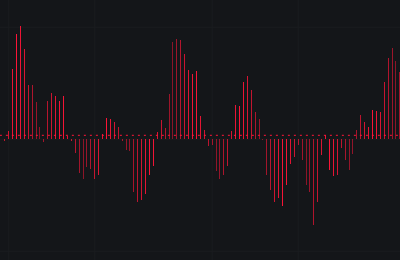
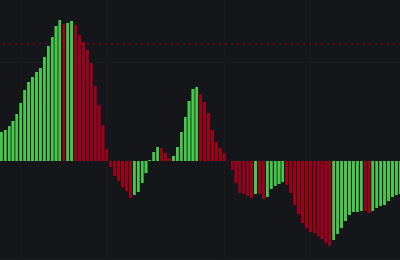
- Histogram – bar charts with absolute-width lines
- Columns – bar charts with relative widths (0.0 to 1.0 relative to bar spacing)
- Candles – independent OHLC candles produced by an indicator
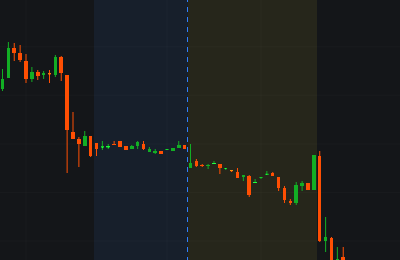
- Background – coloring the chart background based on indicator conditions
- Bar Color – changing the color of candlesticks on the chart
indie.plot package. Using them is easy, let’s look at some examples:
Lines
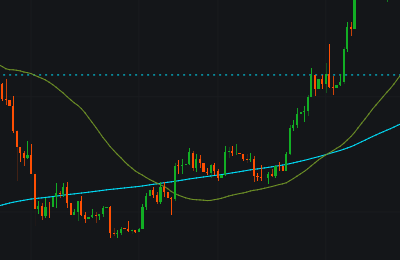
Lines are the most common plot style and a great starting point. Let’s create a simple SMA Crossing indicator that draws multiple lines. We’ll enhance our previous example by adding two SMA lines:- Add
@indie.plot.line(...)in the Main function decorator to declare and configure the line. - Return two floats with current line values for each bar.
Markers
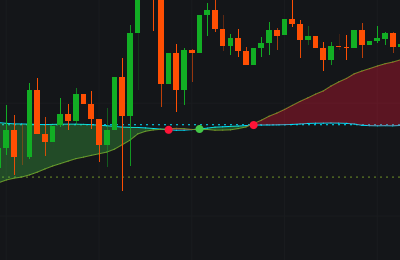
Let’s add markers for SMA line crosses. Using the logic established above:- Add a
@plot.markerdecorator, - Return an
indie.plot.Markerobject from Main:
display_options parameter - this allows you to hide the marker values from the “pill” and from the ordinate axis:
Columns
We created an SMA Crossing indicator. To highlight crossovers visually, let’s build a supporting indicator with columns in a separate pane. An indicator by mustermann84 on our marketplace is free: Simple Crossover Signal Bars. Here’s its code: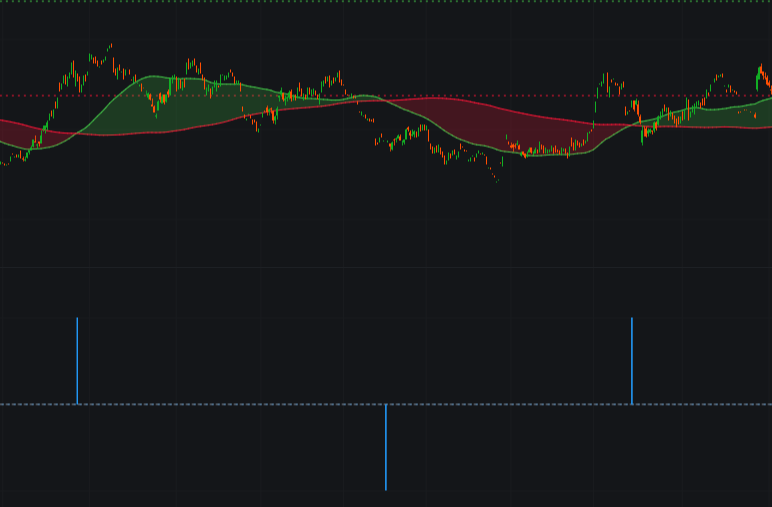
Histograms
Histograms in Indie are similar to columns but will gain more features in the future. Use histograms for data distributions or value differences, e.g., SMI Ergodic Oscillator shows the difference between TSI and its smoothed version: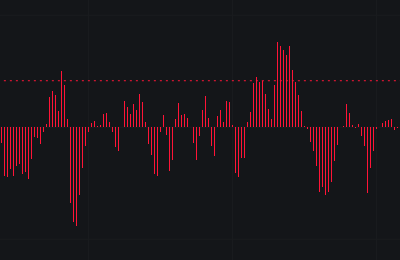
Steps
Steps displays data as step lines, ideal for discrete changes or support/resistance levels: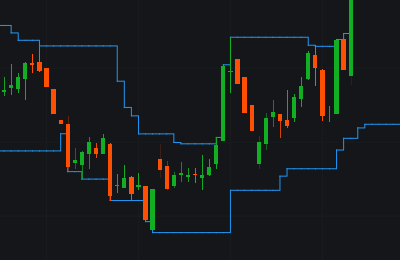
Background
Background allows you to color the chart background based on conditions in your indicator. This is useful for highlighting specific market sessions, zones, or trading conditions. To use background coloring:- Add
@plot.background(...)decorator - Return a
plot.Background(...)object from the Main function - Set the
colorparameter to control the background color - Optionally use
outline_leftandoutline_rightto draw vertical lines at the edges
- Two background plots are declared for pre-market and after-hours sessions
- Each session gets its own color with transparency
color.TRANSPARENTis used when a bar is outside the session- The
outline_leftproperty draws a vertical line at session boundaries
Candles
A candles plot lets an indicator draw its own OHLC series without replacing the chart candles. Declare it with@plot.candles() and return a plot.Candles value for every bar:
offset. If any OHLC value is NaN, that candle
is not drawn. See @candles() and
Candles for all options.
Bar Color
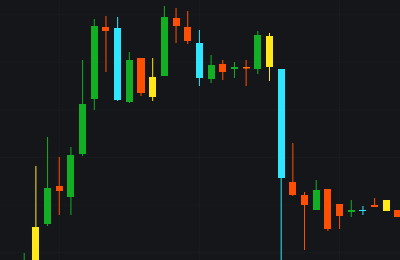
Bar color allows you to change the color of candlesticks on the chart based on your indicator’s logic. This is perfect for highlighting unusual market activity or specific conditions. To use bar coloring:- Add
@plot.bar_color()decorator - Return a
plot.BarColor(...)object from the Main function - Set the
colorparameter to control the candlestick color
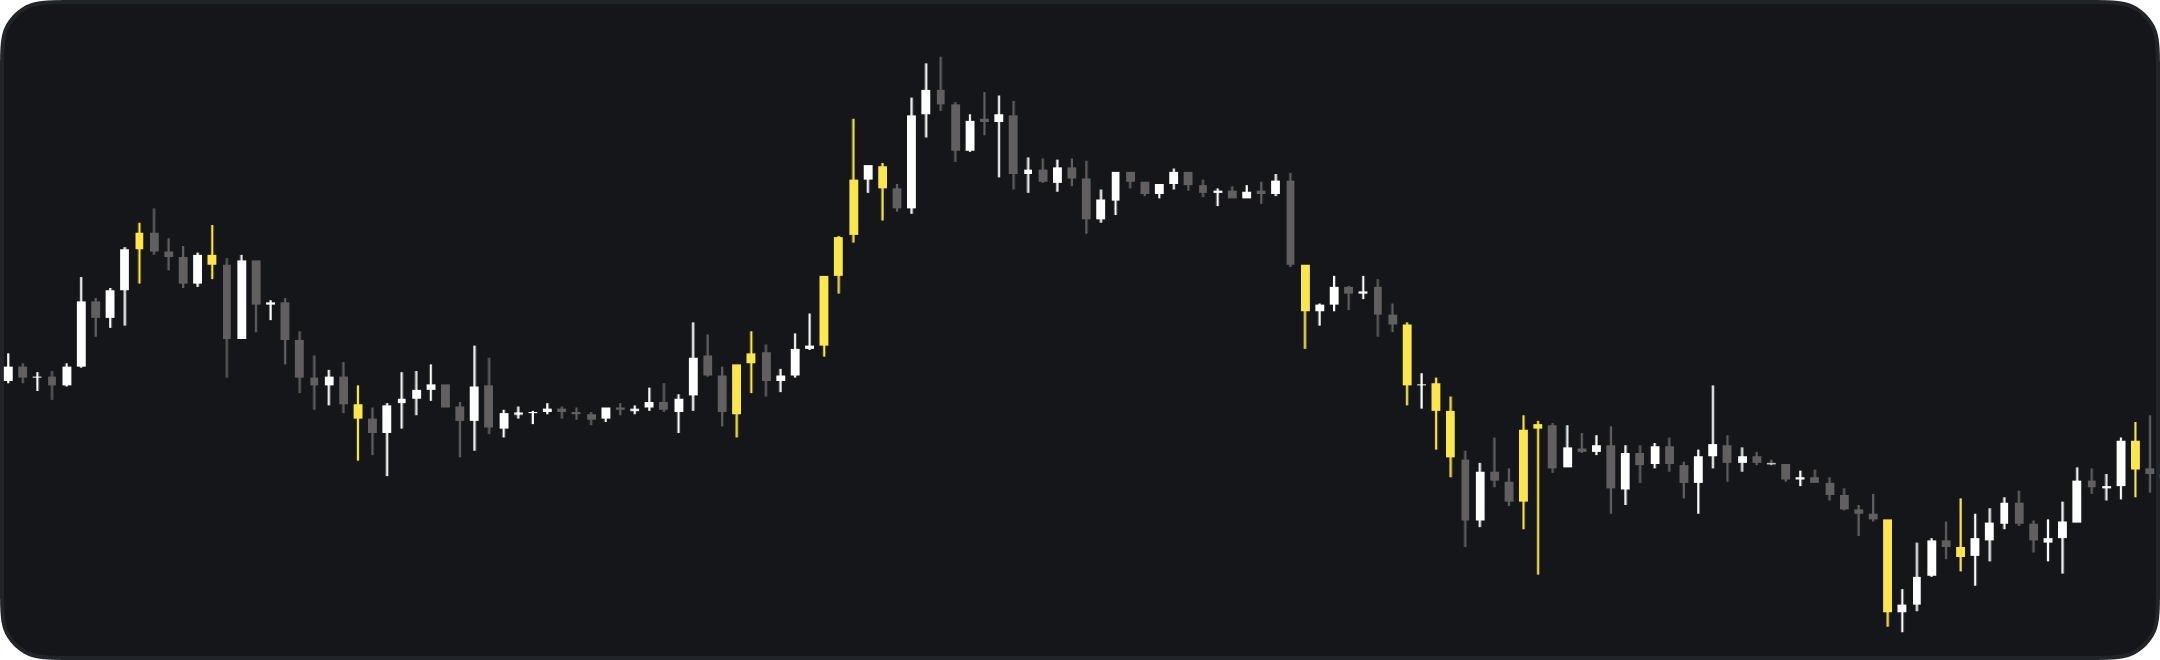
- The indicator calculates a moving average of volume
- When current volume exceeds the average by
spike_coeftimes, the bar is colored yellow Noneallows the bar to use default coloring when there’s no spike- The colored bars make it easy to spot unusual volume activity at a glance
- Price breakouts or breakdowns
- Overbought/oversold conditions from oscillators
- Pattern recognition results
- Trend changes
Colors
Every plot style above takes acolor. There are three ways to get one:
color.hex() is handy when you copy a palette from a design tool or another platform. It takes exactly #RRGGBB, upper or lower case. Shorthand #1E9, eight-digit #1E90FF80, or a string without # compile, but stop the indicator at runtime with invalid hex color: expected #RRGGBB. For transparency, call the color with an alpha value from 0.0 to 1.0, as in the last line.
A hex color works anywhere a color does — in a plot decorator and as the default of a color input, which users can then change in the indicator settings:
indie.color reference.
We hope this guide helps you make the most of Indie’s plot styles when creating indicators. Experiment, build, and share your work with the community!