> ## Documentation Index
> Fetch the complete documentation index at: https://takeprofit.com/docs/llms.txt
> Use this file to discover all available pages before exploring further.
# Workspaces
A workspace is your customizable trading command center on TakeProfit. With unmatched flexibility, you can design exactly the setup you need for your analysis and trading - whether simple or complex.
## Setting Up Your First Workspace
Your TakeProfit journey begins with choosing how to build your workspace:
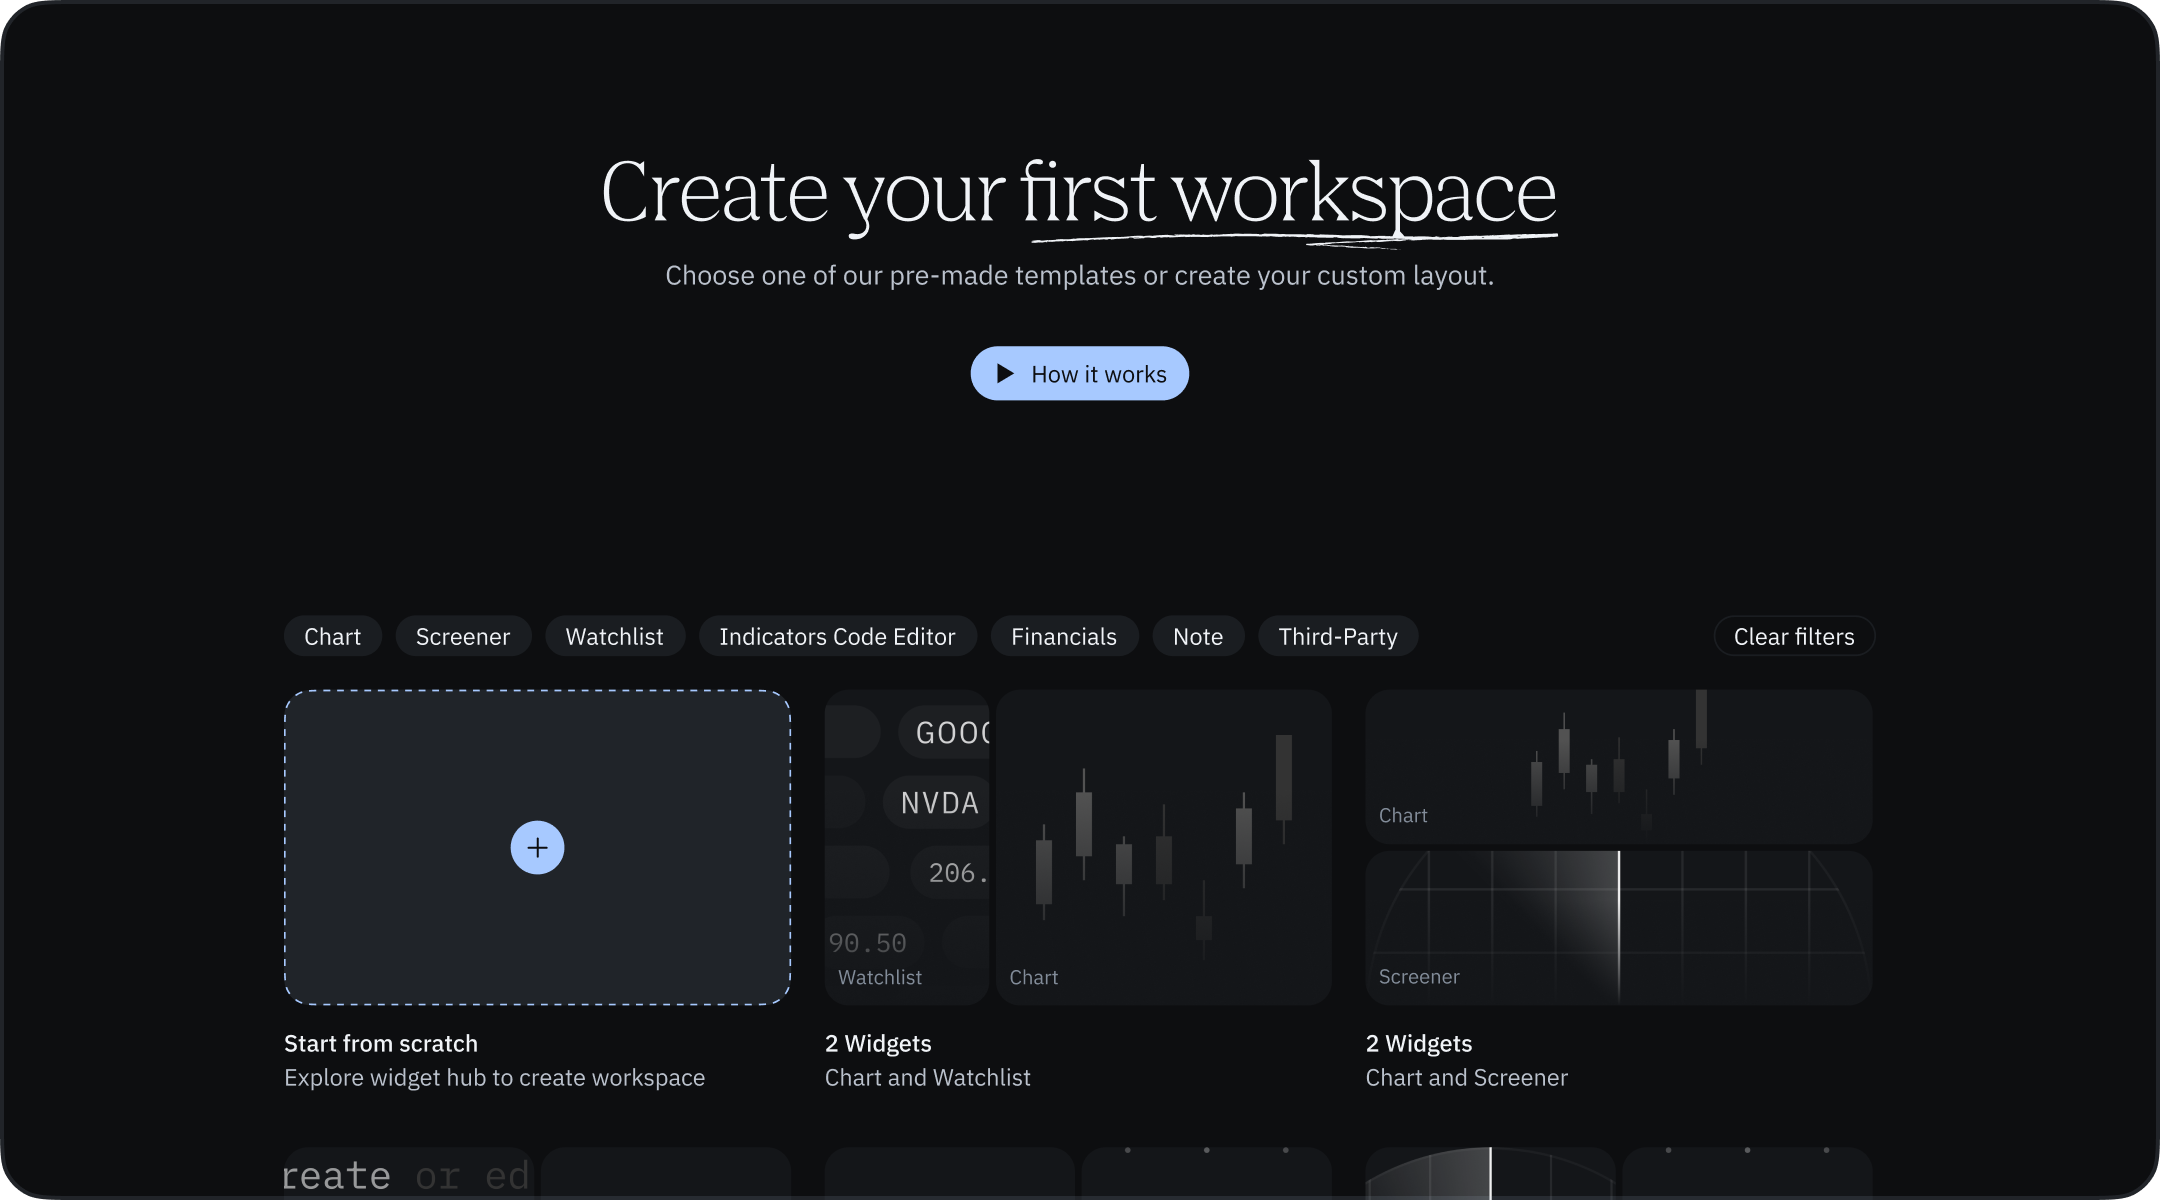 ### Option 1: Template Gallery
Browse our extensive collection of professionally designed layouts tailored for different trading approaches:
### Option 1: Template Gallery
Browse our extensive collection of professionally designed layouts tailored for different trading approaches:
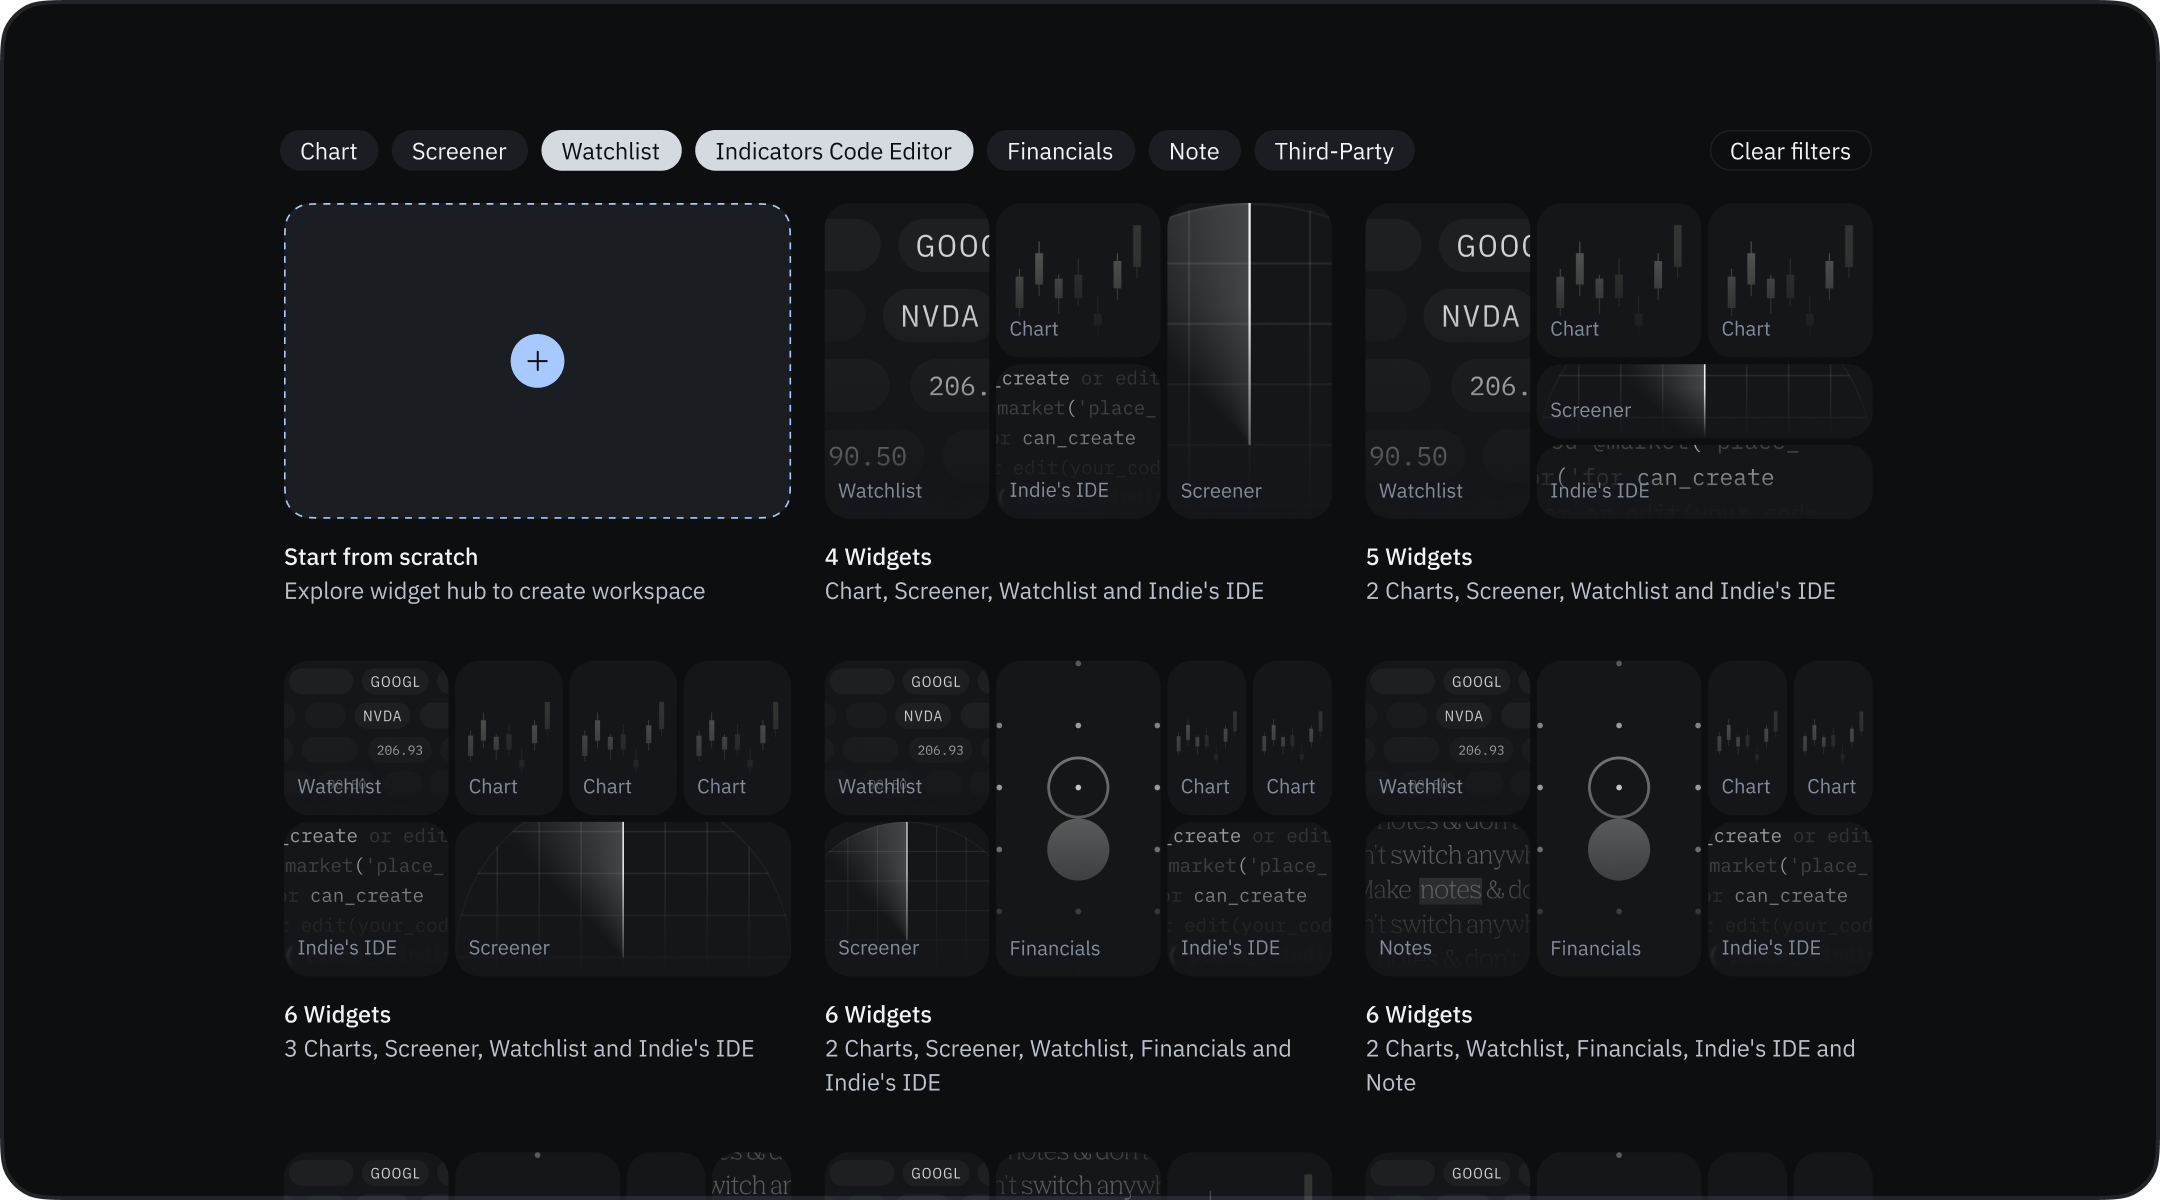 * **Find Your Style**: Use filters (Chart, Screener, Watchlist, etc.) to narrow down templates matching your trading preferences
* **Instant Setup**: Select a template to immediately populate your workspace with the appropriate widgets
* **Ready to Trade**: Each template comes pre-configured for specific trading scenarios.
### Option 2: Build From Scratch
Start with a clean slate for maximum customization:
* **Complete Freedom**: Begin with just the Widget Hub
* **Custom Design**: Add only the exact tools you need
* **Perfect Positioning**: Arrange everything precisely to your specifications.
## Key Workspace Features
* **Unlimited Layouts**: Create separate workspaces for different strategies, markets, or timeframes
* **Flexible Arrangement**: Resize, reposition, and reconfigure any widget
* **Widget Synchronization**: Link related widgets to work together
* **Persistent Setups**: Your workspaces are saved automatically
* **Light Mode**: Offers three display options: Light, Dark, and System.
## Managing Workspaces
### Renaming and Deleting Workspaces
1. Click the active workspace name in the top right corner
2. In the dropdown menu, locate the current workspace (listed first)
3. Hover right to reveal:
* Pencil icon: Rename workspace
* Trash icon: Delete workspace
> **Warning**: Workspace deletion is permanent. All settings, drawings, and configurations will be lost and no recovery option available after deletion.
## Theme Settings
TakeProfit supports multiple visual themes that control the appearance of the entire platform interface.
You can quickly switch between themes using the **Theme Settings** button (moon icon) located in the **top-right toolbar**.
Clicking this icon opens the **Theme Configuration** panel, where you can:
* Select a predefined theme
* Create a custom user theme
* Adjust interface color parameters
### Pre-assembled Themes
The platform includes three default themes:
* **Dark** — the default theme optimized for long trading sessions and low-light environments
* **Light** — a brighter interface designed for well-lit environments
* **System** — automatically follows your operating system’s theme preference
Selecting a theme applies it immediately across the entire application, including all workspaces.
### Creating a Custom Theme
You can create your own interface theme using the **Add theme (+)** option.
Steps:
1. Open **Theme Settings**
2. Click **Add theme (+)**
3. A new **User Theme** will appear in the theme list
4. Customize the available color parameters
5. The changes are applied instantly
Custom themes allow you to personalize the visual appearance of the platform to match your preferences.
### Theme Color Parameters
Each theme can be customized using several interface color settings:
* **Background** — main workspace background color
* **Text** — interface text color
* **Rise** — color used for positive price movement
* **Fall** — color used for negative price movement
* **Buy** — color used for buy-related elements
* **Sell** — color used for sell-related elements
* **Accent** — highlight color used across interface elements
These settings control the overall visual palette of the platform.
### Behavior Notes
* Theme changes apply **immediately** across all workspaces.
* The selected theme **persists across sessions** until changed again.
* Custom themes can be created and modified at any time.
Changing the platform theme does not override chart-specific colors configured in **Chart Style settings** (such as candle colors or indicator colors). If chart elements become difficult to see after switching themes, adjust the chart style settings accordingly.
## Workspace Hotkeys
* **Find Your Style**: Use filters (Chart, Screener, Watchlist, etc.) to narrow down templates matching your trading preferences
* **Instant Setup**: Select a template to immediately populate your workspace with the appropriate widgets
* **Ready to Trade**: Each template comes pre-configured for specific trading scenarios.
### Option 2: Build From Scratch
Start with a clean slate for maximum customization:
* **Complete Freedom**: Begin with just the Widget Hub
* **Custom Design**: Add only the exact tools you need
* **Perfect Positioning**: Arrange everything precisely to your specifications.
## Key Workspace Features
* **Unlimited Layouts**: Create separate workspaces for different strategies, markets, or timeframes
* **Flexible Arrangement**: Resize, reposition, and reconfigure any widget
* **Widget Synchronization**: Link related widgets to work together
* **Persistent Setups**: Your workspaces are saved automatically
* **Light Mode**: Offers three display options: Light, Dark, and System.
## Managing Workspaces
### Renaming and Deleting Workspaces
1. Click the active workspace name in the top right corner
2. In the dropdown menu, locate the current workspace (listed first)
3. Hover right to reveal:
* Pencil icon: Rename workspace
* Trash icon: Delete workspace
> **Warning**: Workspace deletion is permanent. All settings, drawings, and configurations will be lost and no recovery option available after deletion.
## Theme Settings
TakeProfit supports multiple visual themes that control the appearance of the entire platform interface.
You can quickly switch between themes using the **Theme Settings** button (moon icon) located in the **top-right toolbar**.
Clicking this icon opens the **Theme Configuration** panel, where you can:
* Select a predefined theme
* Create a custom user theme
* Adjust interface color parameters
### Pre-assembled Themes
The platform includes three default themes:
* **Dark** — the default theme optimized for long trading sessions and low-light environments
* **Light** — a brighter interface designed for well-lit environments
* **System** — automatically follows your operating system’s theme preference
Selecting a theme applies it immediately across the entire application, including all workspaces.
### Creating a Custom Theme
You can create your own interface theme using the **Add theme (+)** option.
Steps:
1. Open **Theme Settings**
2. Click **Add theme (+)**
3. A new **User Theme** will appear in the theme list
4. Customize the available color parameters
5. The changes are applied instantly
Custom themes allow you to personalize the visual appearance of the platform to match your preferences.
### Theme Color Parameters
Each theme can be customized using several interface color settings:
* **Background** — main workspace background color
* **Text** — interface text color
* **Rise** — color used for positive price movement
* **Fall** — color used for negative price movement
* **Buy** — color used for buy-related elements
* **Sell** — color used for sell-related elements
* **Accent** — highlight color used across interface elements
These settings control the overall visual palette of the platform.
### Behavior Notes
* Theme changes apply **immediately** across all workspaces.
* The selected theme **persists across sessions** until changed again.
* Custom themes can be created and modified at any time.
Changing the platform theme does not override chart-specific colors configured in **Chart Style settings** (such as candle colors or indicator colors). If chart elements become difficult to see after switching themes, adjust the chart style settings accordingly.
## Workspace Hotkeys
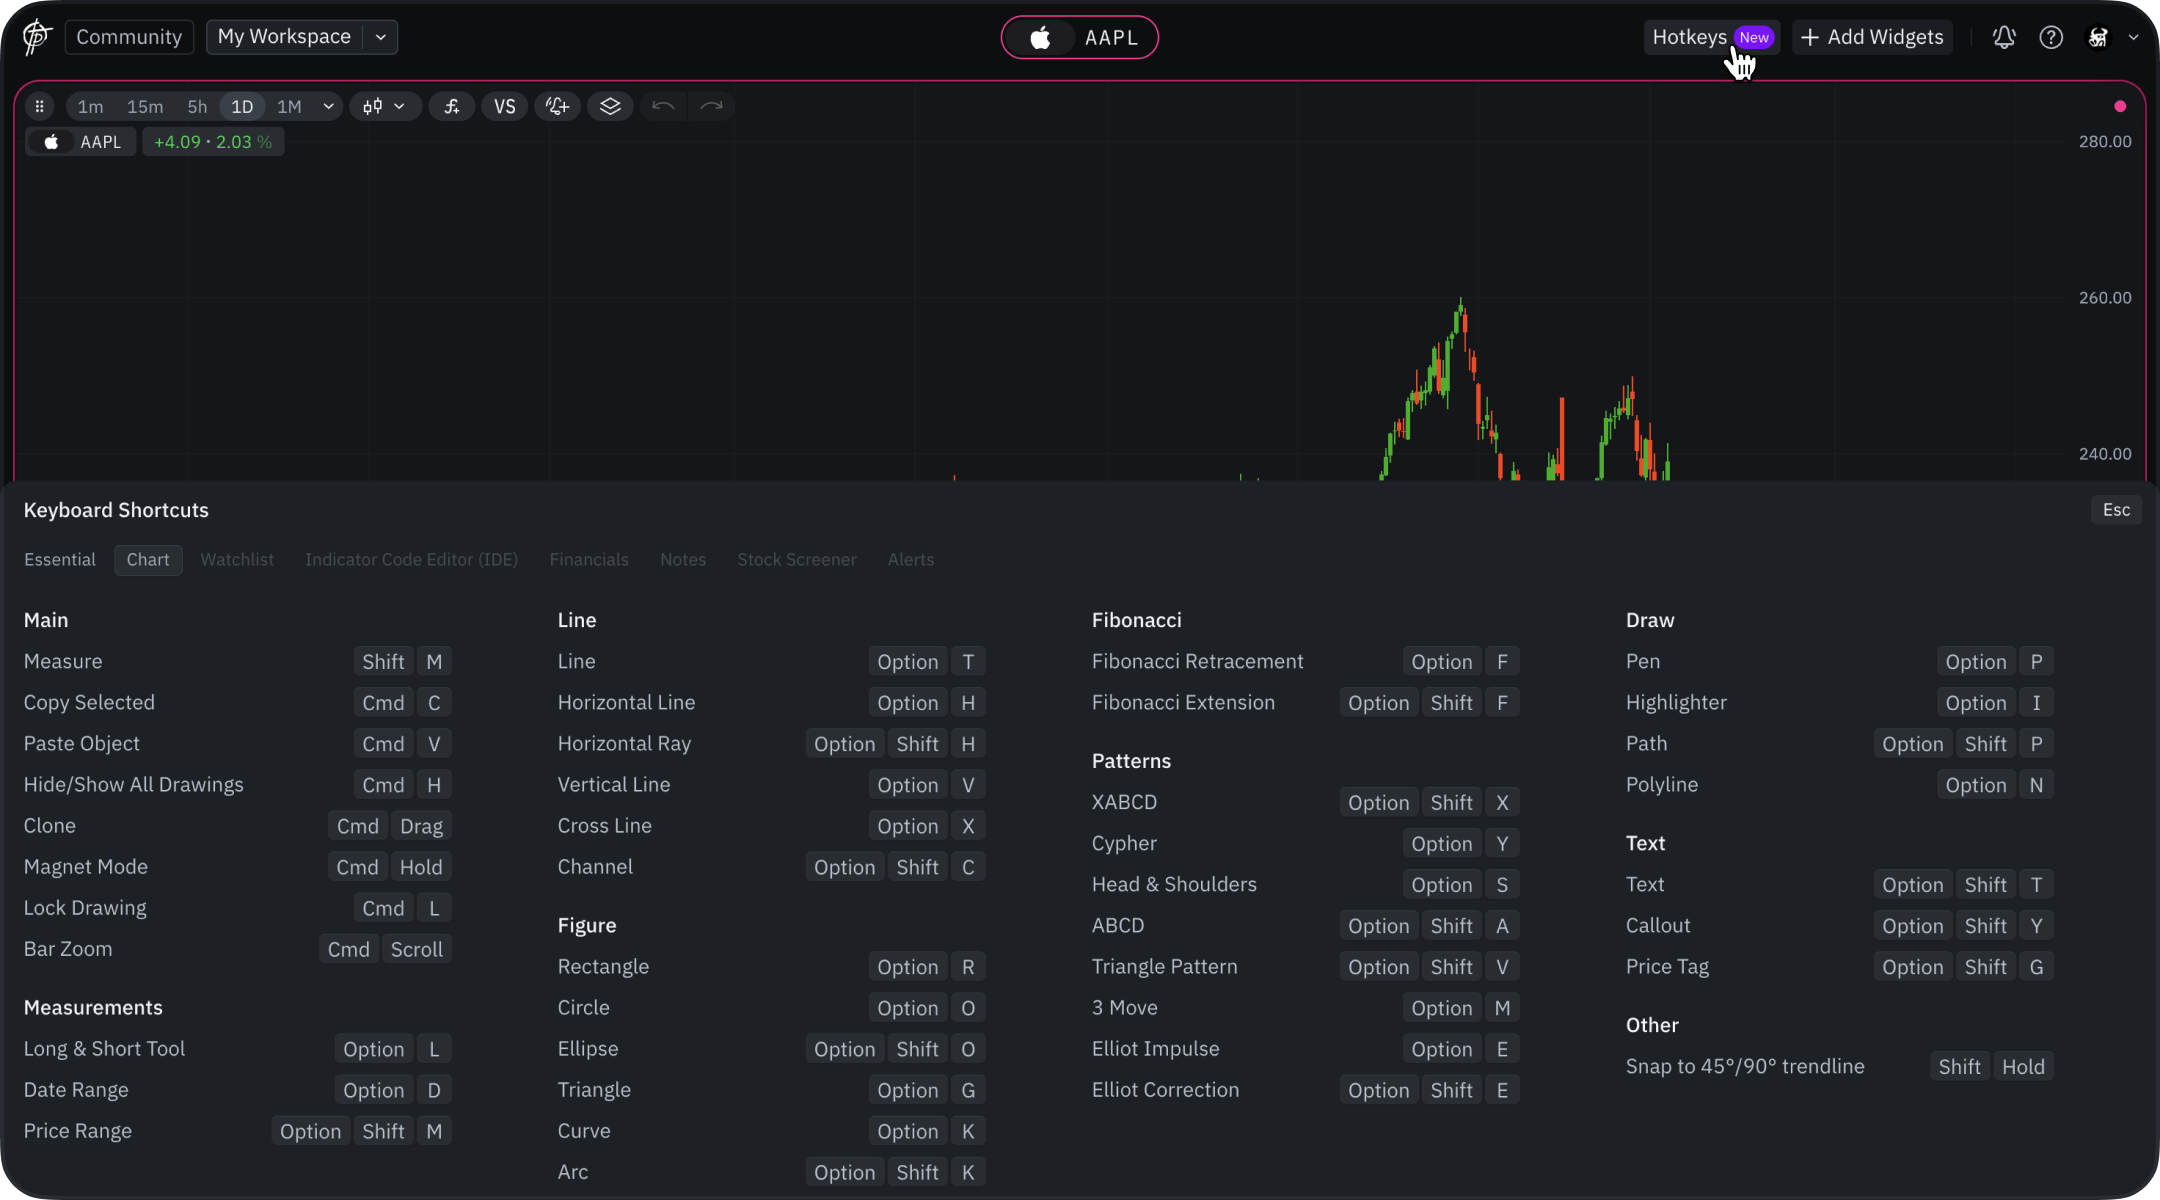 TakeProfit supports quick navigation between different widgets and list elements using keyboard hotkeys. Here's a reference table to help you move faster across the workspace:
| Action | Hotkey | Description |
| --------------------------------- | ------------- | --------------------------------------------------------------------------- |
| Switch between active widgets | `Tab` | Cycles focus between main work areas (Chart, Financials, Notes, etc.) |
| Switch between navigation widgets | `Shift + Tab` | Cycles between widgets like Watchlist or Screener without losing main focus |
## Lists & Tables
| Action | Hotkey | Description |
| --------------------------- | ----------------- | ------------------------------------------ |
| Navigate between list items | `Up / Down Arrow` | Moves selection up/down within a list view |
## Customizing Your Hotkeys
You can customize hotkeys in TakeProfit to fit your personal workflow. You can rebind your most-used actions to your preferred key combination to navigate the platform without lifting your hands from the keyboard.
**How to change a Hotkey:** Simply press `Shift + Click` on any action or hotkey trigger to open the binder, then press your new preferred key combination.
Looking for chart drawing Hotkeys?
Check out the full [Keyboard Hotkeys Guide for Drawing Tools](/guide/platform/chart-widget/Drawing-Tools-Keybord-Shortcuts).
You can always access the full list of available hotkeys by clicking the **question mark icon** in the top-right corner of the platform and selecting **Keyboard Hotkeys**.
## Subscription Limitations for Workspaces
* **Pro Plan**: Unlimited workspaces
* **Free Plan**: Limited to 2 workspaces
[Learn more about subscription plans →](/guide/getting-started/Trial-activation-subscriptions)
TakeProfit supports quick navigation between different widgets and list elements using keyboard hotkeys. Here's a reference table to help you move faster across the workspace:
| Action | Hotkey | Description |
| --------------------------------- | ------------- | --------------------------------------------------------------------------- |
| Switch between active widgets | `Tab` | Cycles focus between main work areas (Chart, Financials, Notes, etc.) |
| Switch between navigation widgets | `Shift + Tab` | Cycles between widgets like Watchlist or Screener without losing main focus |
## Lists & Tables
| Action | Hotkey | Description |
| --------------------------- | ----------------- | ------------------------------------------ |
| Navigate between list items | `Up / Down Arrow` | Moves selection up/down within a list view |
## Customizing Your Hotkeys
You can customize hotkeys in TakeProfit to fit your personal workflow. You can rebind your most-used actions to your preferred key combination to navigate the platform without lifting your hands from the keyboard.
**How to change a Hotkey:** Simply press `Shift + Click` on any action or hotkey trigger to open the binder, then press your new preferred key combination.
Looking for chart drawing Hotkeys?
Check out the full [Keyboard Hotkeys Guide for Drawing Tools](/guide/platform/chart-widget/Drawing-Tools-Keybord-Shortcuts).
You can always access the full list of available hotkeys by clicking the **question mark icon** in the top-right corner of the platform and selecting **Keyboard Hotkeys**.
## Subscription Limitations for Workspaces
* **Pro Plan**: Unlimited workspaces
* **Free Plan**: Limited to 2 workspaces
[Learn more about subscription plans →](/guide/getting-started/Trial-activation-subscriptions)